 Materials I used:
Photo of a Lion
Canvas Board
Flat Brushes
Liner Brush
Acrylic Colours (I used WN Galeria)
Titanium White Yellow Ochre
Sap Green
Cerulean Blue
Raw Umber
Raw Sienna
Vermilion (Red) Hue
Cadmium Yellow
Mars Black
Medium used: Fluid Retarder
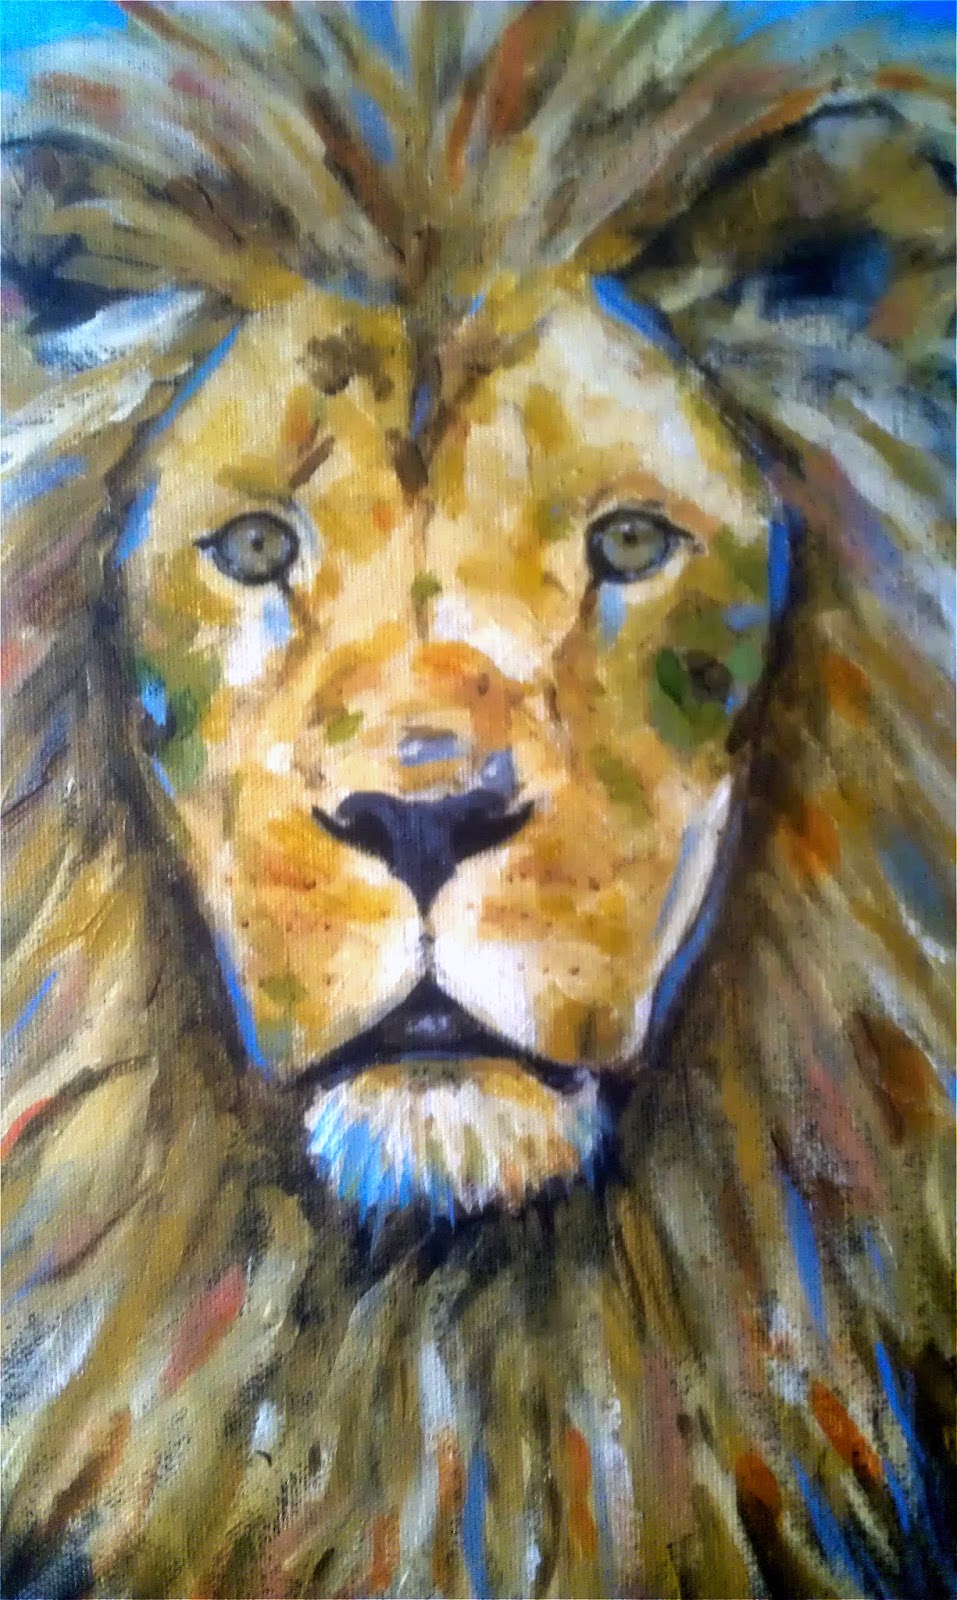
Stage 1

If your feeling a little unsure how to start something like this (or where to start) just pick a place and start there. I started with the right eye. I literally blobbed some thin paint there and then where the other eye should be then I worked my way out.
You can use a ruler or you can hold your brush out to create measurements of the head. I used both methods. And I am always looking at the relationships between each aspect of the head.
Stage 2

Then using Mars black I paint in all the darkest bits. As pictured.
Stage 3

I use Yellow Ochre with a touch of white and pick out the lightest areas of the face, like around the mouth and on the nose. Then I go into some pure Yellow Ochre and add it to the Lions cheeks. Then with Some Yellow Ochre and a bit of white I work around the head.
I then start going between the three values and place the colours on with simple strokes. (I don't scrub the colour on). I try to make each stroke of colour count.
Stage 4

I used Sap Green on the cheeks and some Raw sienna here and there to warm certain areas up. I also added some more strokes of light and pure Yellow Ochre here and there.
And I added the Lions beard with some leftover light Yellow Ochre.
Stage 5

I then darken around the head to see the shape of the head clearer and make it easier to correct if needed.
I am constantly correcting areas I don't feel are quite right. Refining all the time. Remember to sit back and look at the whole picture as you create it.
Stage 6

I now work quite quickly and use Cerulean Blue and White and using criss cross strokes I loosely put in the background. I don't blend this just lay on the paint. After that dries I get Raw Umber on the brush and add the mane. When that dries I paint in the ears using Yellow Ochre I blend the yellow into the Raw Umber as it gets closer to the Lions Ear hole.
I also add the tongue using a bit of Mars Black and White, and a lighter version for the highlight of the tongue.
This is where I use pure colour around the face picking out warm and cold areas and expressing them with colour.
Blue is sent backwards and reds are brought forwards.
I then add the mane using various mixtures of Yellow Ochre and white. Then when thats dry I go over it again using pure yellow Ochre in places and pure Raw Sienna. Then I go in again with Blues and Reds. I made sure my blue was lightened slightly with white and my red was turned orange slightly with Cad Yellow. This is a time to be expressive. Don't forget if you don't like a colour in a certain place you can paint over it using another colour. That's the beauty of fast drying paints.
Final Stage
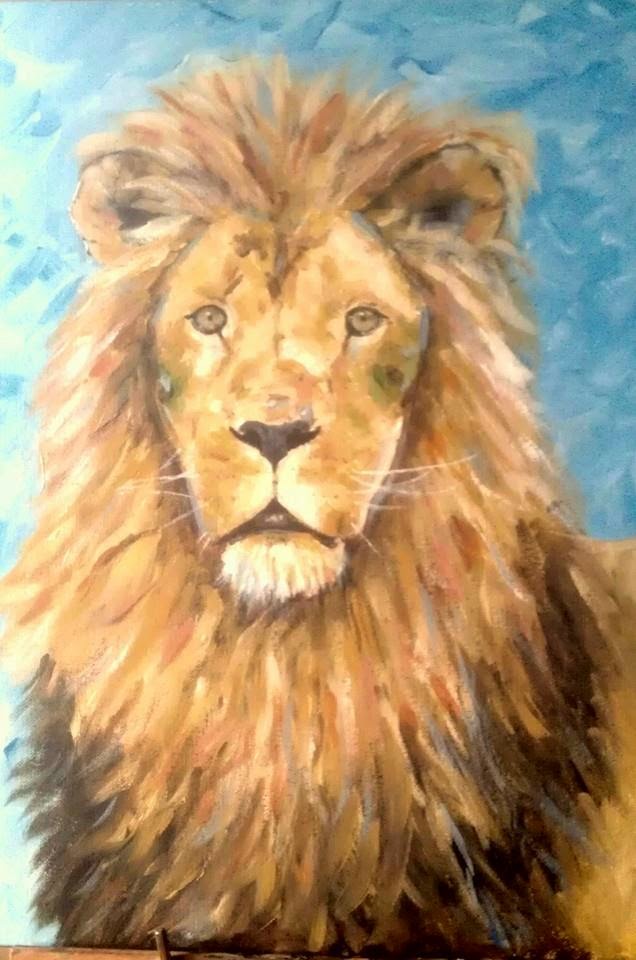 Paint the lighter areas of the nose. Paint in the whiskers and add in the highlights on the eyes.
 Any area you missed this is the time to complete the painting.
I hope this little guide gives you an idea on how to paint a Lion using acrylics.
No comments:
Post a Comment